How to use sendify step by step
September 10, 2025
Jovan Lopez
Getting started with sendify is easier than you think. In this complete guide we’ll walk you through every step so you can launch your first bulk WhatsApp campaign in minutes.
Step 1: Download and install sendify
The first step is to download sendify. You have two options:
- Microsoft Store (recommended): Search for “Sendify” in the Microsoft Store or click here. This is the safest and most reliable installation method.
- Official website: Download directly from sendifyevst.com.
Once downloaded, run the installer and follow the on-screen instructions. Installation typically takes less than 2 minutes.
Step 2: Log in to your account
When you open sendify for the first time, you’ll be prompted to enter your credentials (username and password). If you don’t have an account yet, contact us to get your free 7-day trial access.
Step 3: Connect your WhatsApp
- Open sendify and go to the Connections section.
- A QR code will appear on screen.
- Open WhatsApp on your phone, go to Settings > Linked devices > Link a device.
- Scan the QR code with your phone camera.
- That’s it! Your WhatsApp is now connected to sendify.
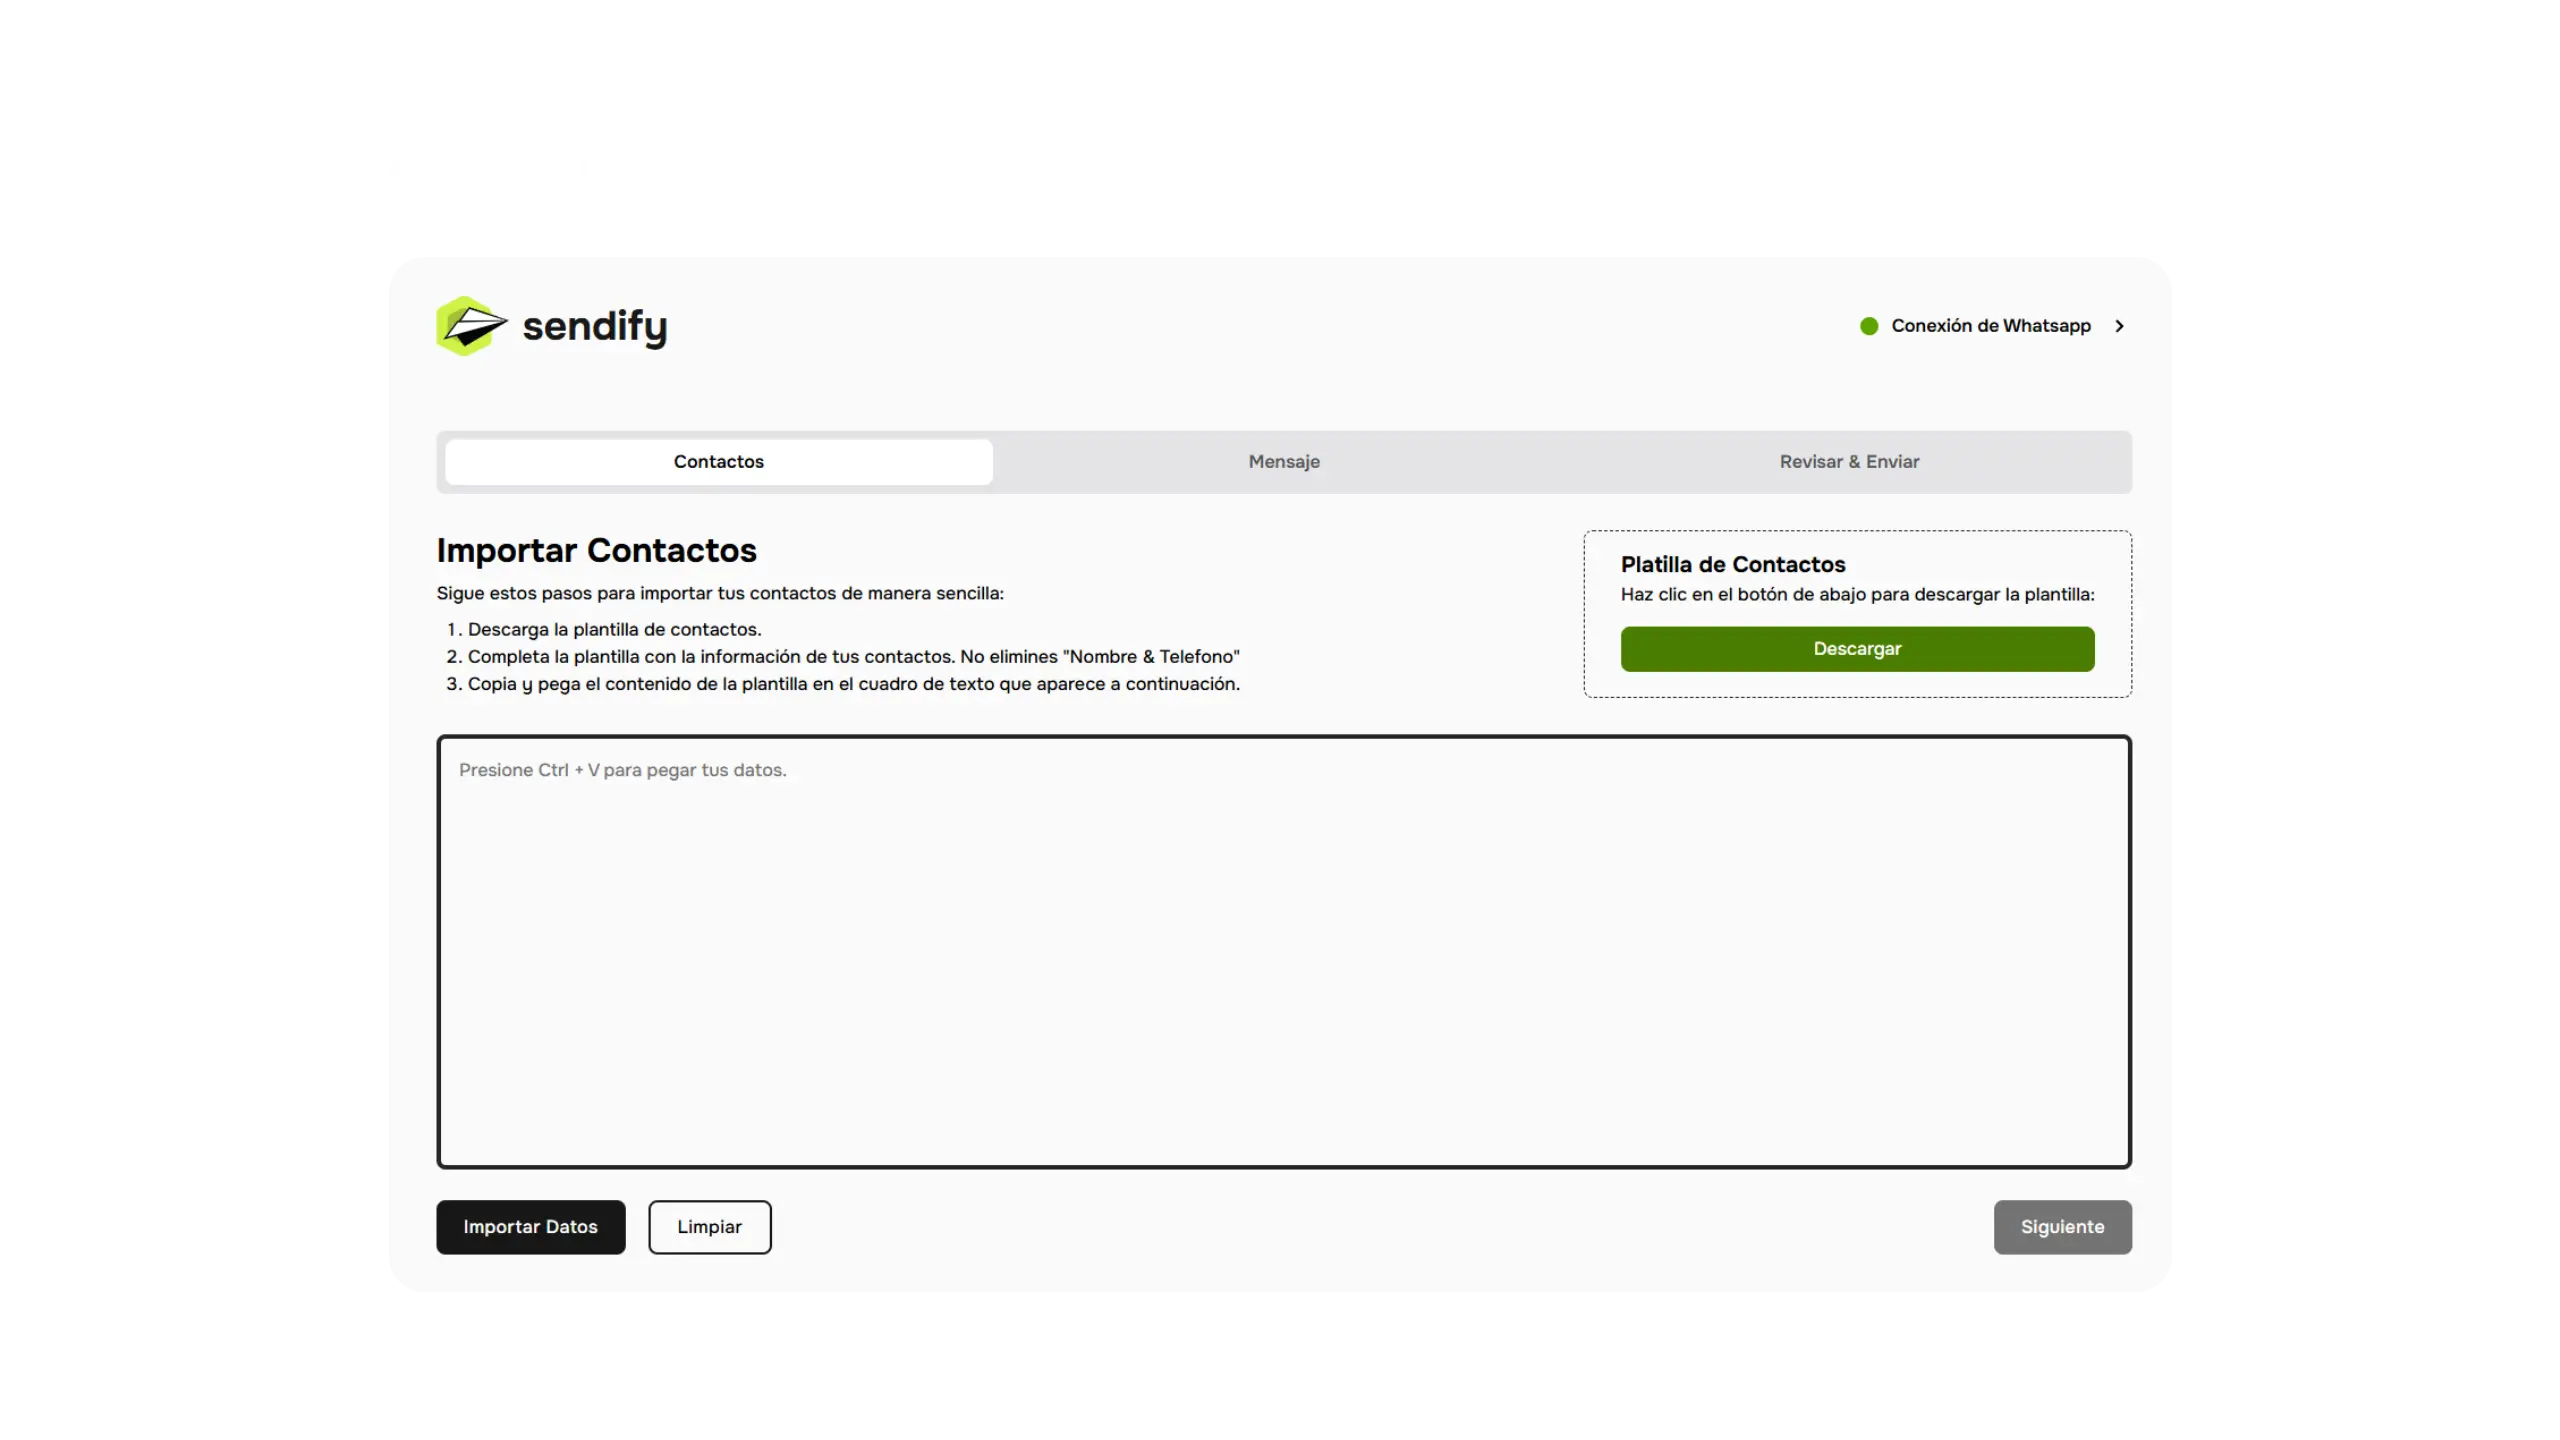
Step 4: Import your contact list
sendify supports multiple contact import formats:
- Excel (.xlsx): The most common format. Make sure you have a column for phone numbers.
- CSV (.csv): Compatible with most CRMs and marketing tools.
- Direct import: Type numbers manually if you have a small list.
Recommendations for your list:
- Include the country code (e.g., +1 for USA, +52 for Mexico).
- Remove duplicate numbers to avoid sending the same message twice.
- Verify that all numbers are valid WhatsApp accounts.
Step 5: Design your message
This is where the magic happens. sendify lets you create highly personalized messages:
Text personalization:
Use variables like {name}, {company}, or {product} that sendify will automatically replace with each contact’s specific information.
Example:
Hello {name}! We have a special offer for you at {company}. Don't miss it!Multimedia messages: sendify supports:
- Images (JPG, PNG, GIF)
- Videos (MP4)
- Documents (PDF)
- Audio files
Message preview: Before sending, use the preview feature to see exactly how your message will appear on your recipients’ phones.
Step 6: Configure send settings
Before launching your campaign, configure these important options:
Smart sending (recommended): Keep this option enabled. It adjusts the sending pace automatically to minimize block risk.
Send interval: If you disable smart sending, configure a manual interval between messages (recommended: 3-10 seconds).
Scheduled sending: You can program your campaign to send at a specific time — ideal for reaching your audience when they’re most active.
Step 7: Launch your campaign
- Review all settings one final time.
- Click Start sending.
- sendify will begin processing your contact list.
- You can monitor progress in real time from the dashboard.
While the campaign runs, you can continue working normally — sendify operates in the background without interfering with your other activities.
Step 8: Analyze your results
After your campaign completes, review the statistics:
- Total sent: Number of messages successfully sent.
- Errors: Invalid numbers or contacts that couldn’t receive the message.
- Send time: Total time the campaign took.
Use this data to optimize your future campaigns.
Tips for successful campaigns
-
Send at the right time: Weekdays between 9 AM - 12 PM and 3 PM - 7 PM generally have the best open rates.
-
Keep messages concise: WhatsApp is a conversational medium. Messages of 2-4 lines have better response rates than long texts.
-
Always include a call to action: End your message with a clear action: “Reply YES”, “Click the link”, “Call us at…”
-
Segment your lists: Don’t send the same message to all your contacts. Segment by interest, location, or purchase history.
-
Test before sending: Send the message to yourself first to verify it looks correct before launching the full campaign.
Ready to start? Get your free access today and launch your first campaign in minutes.